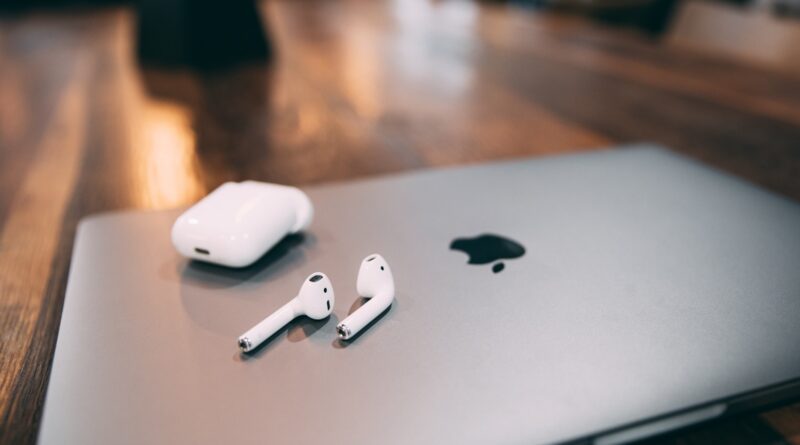
Connecting wireless headphones to a laptop is a straightforward process that anyone can master in just a few minutes. The basic steps involve enabling Bluetooth on your laptop, putting your headphones in pairing mode, and connecting them through your computer’s settings. Whether you’re looking to enjoy music privately or attend online meetings without disturbing others, I’ll guide you through every step to ensure a successful connection. Let me show you how simple it really is!
Spis treści:
Before You Start – What You’ll Need
Before beginning the connection process, make sure you have everything ready. You’ll need wireless headphones with Bluetooth capability (fully charged), a laptop with Bluetooth functionality (most modern laptops have this built-in), and your headphones’ user manual (though you might not need it). If your laptop doesn’t have built-in Bluetooth, you can use a USB Bluetooth adapter. Also, ensure your laptop’s operating system is up to date, as this can prevent potential connectivity issues.
Step-by-Step Connection Process
First, turn on your laptop’s Bluetooth by clicking the Bluetooth icon in the taskbar (Windows) or the menu bar (Mac). If you can’t find it, search for “Bluetooth” in your system settings. Next, put your headphones in pairing mode – usually by pressing and holding the power button or a dedicated pairing button until you see a blinking light. On your laptop, click “Add Bluetooth Device” and wait for your headphones to appear in the list of available devices. Click on your headphones’ name to initiate pairing. Follow any additional prompts that may appear on your screen.
Troubleshooting Common Issues
If you encounter problems connecting your headphones, try these solutions. First, ensure your headphones aren’t already connected to another device – most wireless headphones can only connect to one device at a time. If the connection fails, try turning both Bluetooth devices off and on again. Sometimes, removing the headphones from your laptop’s Bluetooth devices list and re-pairing them can resolve connection issues. If you still experience problems, check if your laptop’s Bluetooth drivers need updating through your device manager.
Tips for Better Connection
To maintain a stable connection between your wireless headphones and laptop, keep them within 30 feet of each other and avoid physical obstacles between them. Consider turning off other Bluetooth devices nearby to prevent interference. If you use your headphones frequently, you can set them as your default audio device in your system’s sound settings. This ensures they automatically connect when turned on and are within range of your laptop. Remember to keep both your laptop’s Bluetooth drivers and operating system updated for optimal performance.
Additional Features to Explore
Once you’ve successfully connected your wireless headphones, explore additional features your laptop might offer. Many operating systems provide audio enhancement options, equalizer settings, and spatial sound features. You can access these through your sound settings. Some headphones also come with companion apps that offer custom sound profiles and firmware updates. Take time to explore these features to enhance your listening experience and get the most out of your wireless headphones.