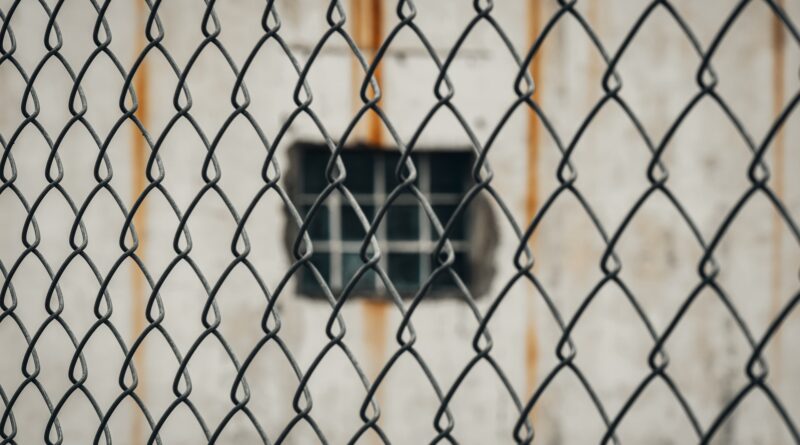
Installing a metal fence mesh might seem like a daunting task, but with the right approach and tools, you can complete this project efficiently. I’ll guide you through the entire process, from planning to final touches, ensuring you achieve professional-looking results. Whether you’re looking to secure your property, create a boundary, or protect your garden, this comprehensive guide will help you install your metal fence mesh correctly.
Spis treści:
Required Materials and Tools
Before starting the installation, gather all necessary materials and tools. You’ll need metal fence mesh panels, fence posts, post caps, concrete mix, gravel, fixing clips or ties, and post hole digger or auger. For tools, make sure you have a measuring tape, string line, spirit level, shovel, post rammer, pliers, and protective equipment including gloves and safety glasses. Having everything ready before you begin will make the installation process smoother and more efficient.
Planning and Preparation
Start by marking your fence line using stakes and string. Check local regulations regarding fence height and property boundaries. Measure and mark post positions – typically, posts should be spaced 6-8 feet apart, depending on your fence mesh specifications. Call your local utility companies to mark underground services before digging. This preparation phase is essential for a successful installation and helps avoid potential problems later.
Installing the Posts
Dig holes for your posts approximately 2 feet deep or one-third of the post height, making them slightly wider at the bottom than the top. Add 4 inches of gravel at the bottom of each hole for drainage. Place the post in the hole, use a spirit level to ensure it’s perfectly vertical, and pour in quick-setting concrete mix. Hold the post steady while the concrete sets initially. Remember to keep all posts at the same height and perfectly aligned. Allow the concrete to cure completely before proceeding with the mesh installation.
Attaching the Mesh
Once your posts are secure, start installing the mesh panels. Begin at a corner or end post, unroll the mesh, and secure it temporarily to the first post. Pull the mesh tight to the next post, ensuring it remains level. Attach the mesh to posts using fixing clips or ties, working from top to bottom. Space the fixings evenly, typically every 12 inches. For maximum security, install the clips on the inside of your property. Continue this process for the entire fence line.
Finishing Touches
After securing all mesh panels, install post caps to protect against water damage and improve appearance. Check all fixings are tight and secure. If you’re installing the fence on uneven ground, you may need to step or rake the mesh panels to follow the contours. Finally, clear the area of any debris and materials. A well-installed metal fence mesh should be tight, secure, and visually appealing from all angles.
Maintenance Tips
To ensure your metal fence mesh lasts for years, inspect it regularly for any damage or loose fixings. Tighten any loose clips or ties promptly. Check posts remain secure and vertical. Clean the mesh periodically to remove dirt and debris. If you notice any rust spots, treat them immediately with appropriate rust-prevention products. With proper maintenance, your metal fence mesh will provide long-lasting security and boundary definition.
